Computers & IT
How To Learn Android Development Programing
Android app development or programming is not a big deal. There are many learning activities available that one can easily learn and be an Android developer. Here we are trying to discuss the basic points about Android development programming.
What is Android Programming?
Android is an open-source and Linux-based Operating System for mobile units such as smartphones and tablet computers. Android was once developed through the Open Handset Alliance, led via Google, and different companies. Android gives a unified strategy to utility development for mobile units which skill builders want solely advance for Android, and their functions have to be capable to run on specific units powered by using Android. The first beta model of the Android Software Development Kit (SDK) used was launched via Google in 2007 whereas the first business version, Android 1.0 was launched in September 2008. There are many android developer who work on it day and night for several android apps.
Android Applications
Android functions are typically developed in the Java language by the use of the Android Software Development Kit. Once developed, Android functions can be packaged without problems and bought out via a save such as Google Play, SlideME, Opera Mobile Store, Mobango, F-droid, and the Amazon Appstore.
The following are the step by step discussion about Android Development Programming for an app.
Step-1
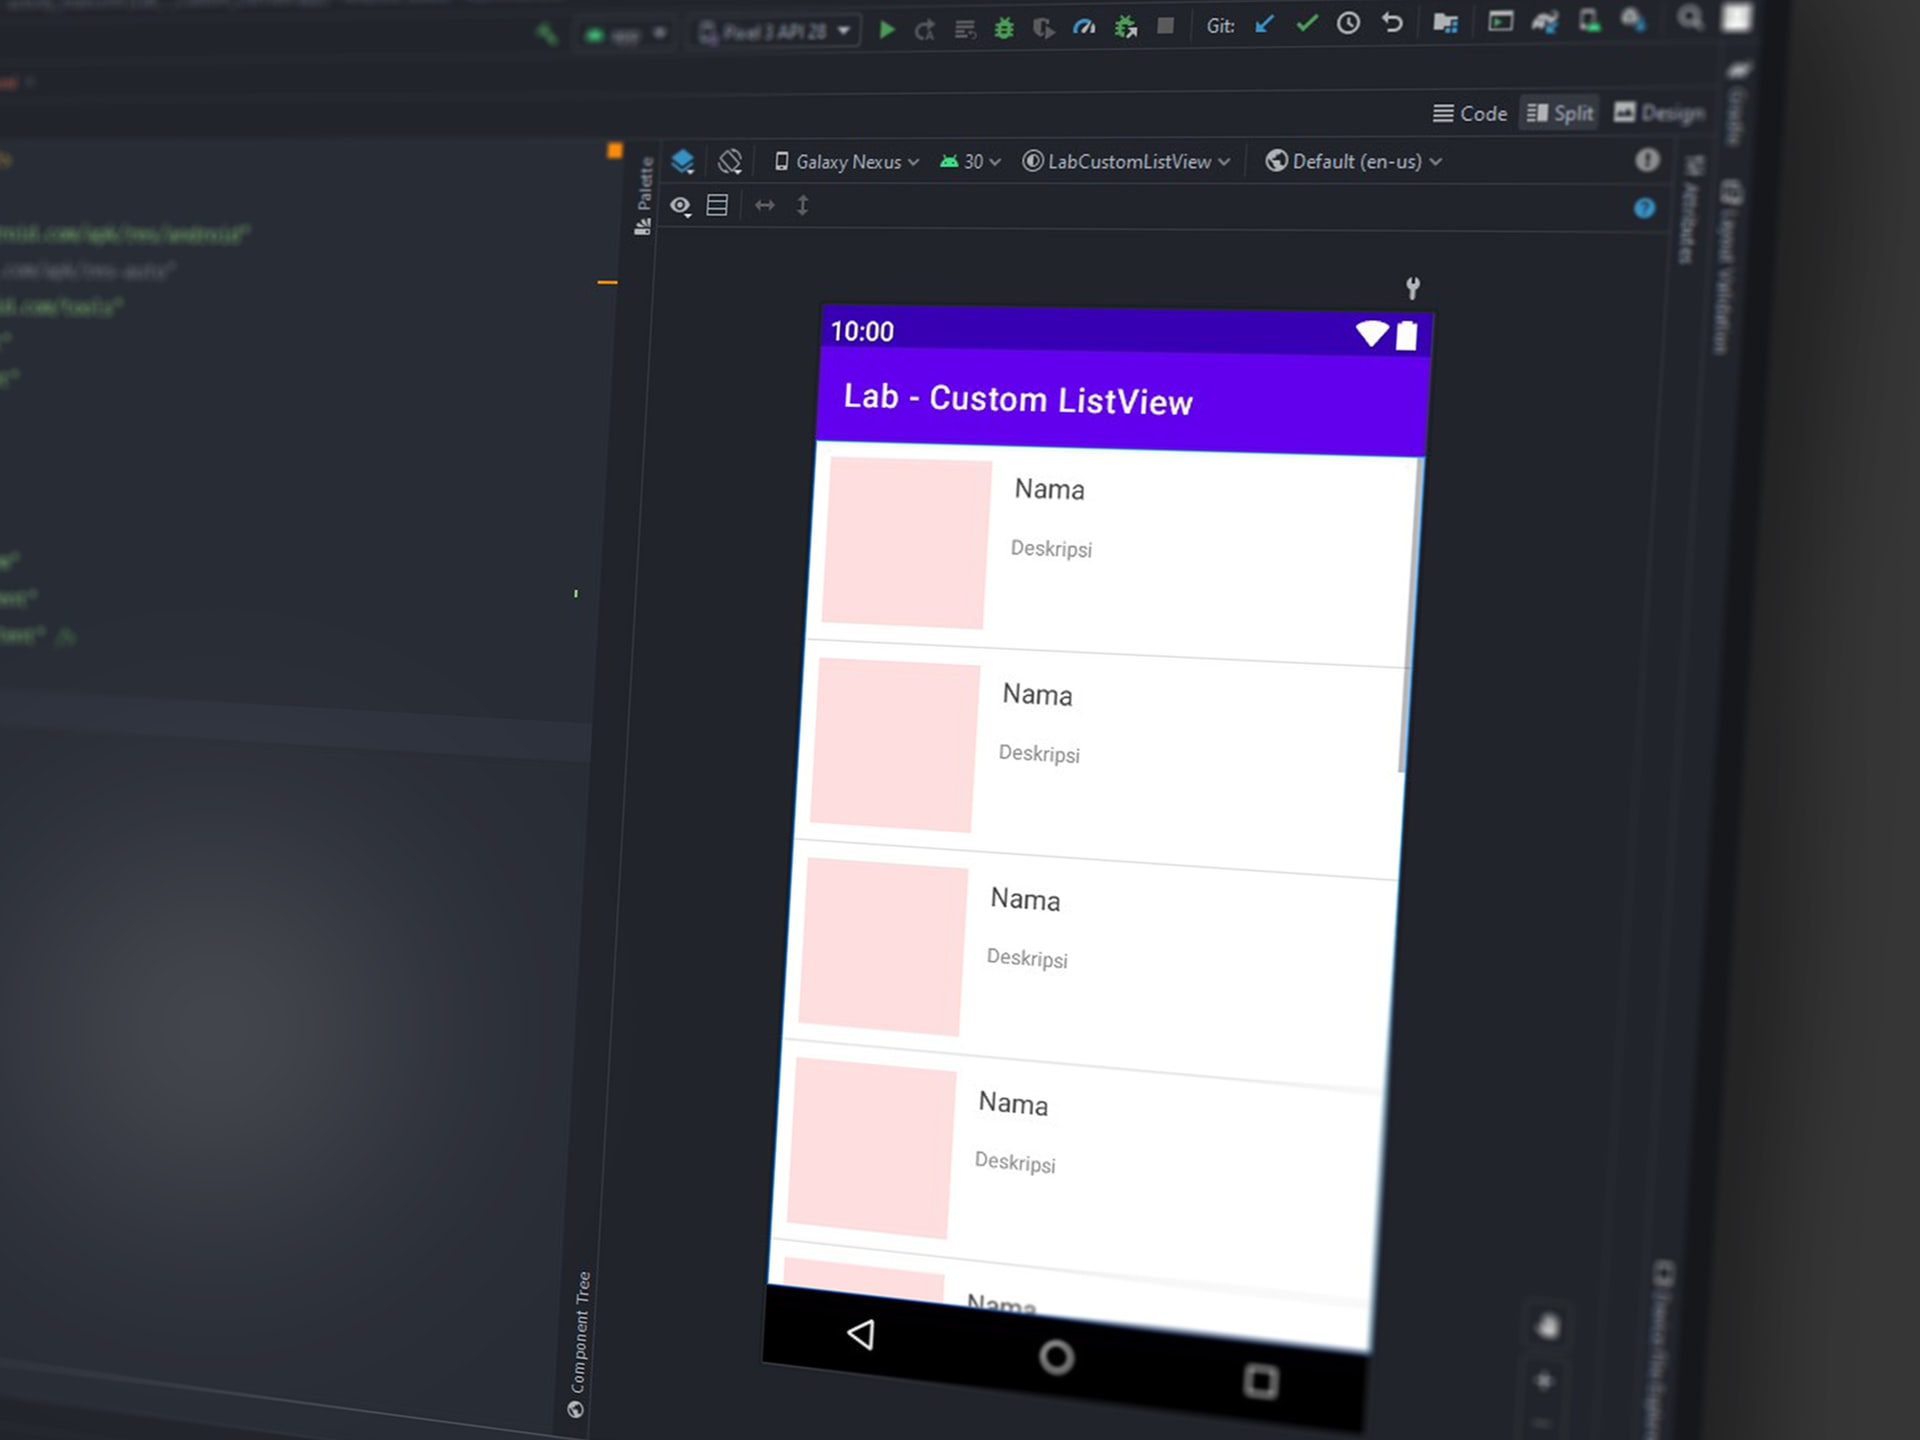
First, as an android developer you need to create your improvement surroundings so that your computing device is geared up to assist your Android development goals. For that, you will want Android Studio and the Android SDK. Thankfully, these come as packaged collectively in a single download that you can discover here.
Android Studio is an IDE that stands for “integrated improvement environment,” an interface where you can enter your code (primarily Java or Kotlin) and get the right of entry to all the distinctive equipment critical for development. Android Studio lets you get entry to libraries and APIs from the Android SDK, thereby giving you get admission to native features of the running system. You’ll additionally be in a position to construct your app into an APK with the use of Gradle, take a look at it by a “virtual device” (emulator), and debug your code whilst it runs. With all that said, maintain in thinking that there are other picks handy for your Android app development.
Step-2
Once you have Android Studio on your machine, the subsequent step is to begin a new project. This is a simple process; however, you’ll need to make a few choices that will influence your Android app improvement going forward.
Go to File > New > New Project. You will now be requested to pick out a “Project Template.” This defines the code and UI factors that will be blanketed in your new app when it loads.
The term “Activity” is seen on your “screen” in your app. Thus, a challenge with “No Activity” will be empty, aside from the primary file structure. A “Basic Activity” on the different hand will create a beginning display screen for your app and will add a button at the backside and a hamburger menu at the top. These are frequent factors in many Android apps, so this can shop you some time. That said, it can additionally cause danger by making matters more complex when you’re first getting to deal with development. For that reason, we’re going to select the “Empty Activity.” This will create an endeavor and some archives for us; however, it won’t add a lot of extra code. Choose a title and “package name” for your new app. The identity is what your target audience will see when the app is mounted on their device. The package deal title is an inside reference used through Android to differentiate it from different apps. This needs to be composed of the use of your top-level area (e.g. .com), area name, and app name.
One of the largest choices you’ll have to make as an Android developer is whether or not you’re going to study Kotlin or Java. Both languages are formally supported via Google and Android Studio; however, they have some wonderful differences.
Java has been supported longest through Google and is what builders have been using to craft Android apps for years. Java is additionally one of the most in-demand programming languages in the world, which makes it a top-notch preference for those who choose to commence a profession in development.
Kotlin, on the other hand, has ended up with Google’s favored preference for Android development. This is the default when beginning a new app and it is probably to emerge as extra frequent going forward. Kotlin is additionally simpler to get to grips with if you’re a whole beginner.
Finally, if you want to reflect on consideration of your Minimum SDK, this is the lowest model of Android that you will like your app to support.
Step-3
For performing the role of Android developers you may have seen some perplex but don’t worry and ignore it because the file that is open is MainActivity.java or MainActivity.kt. This is the most important logic file for the undertaking that is going to outline how your app behaves. Look on the left, and you’ll see that this file is located in: MyApplication > app > src > fundamental > java > com > corporation title > my application. The folders used are vital for Android app development company, as they assist Android Studio and Gradle to discover the whole thing and construct it correctly
Step-4
If you seem to be at the controls alongside the top, you’ll see there’s a little green play arrow. On the left of there is a drop-down menu, with a smartphone title in it. When you mounted Android Studio, this must additionally have established an Android device image alongside the Virtual Device Manager. In different words, you ought to already have an Android emulator set up and prepared to go! By clicking on this green arrow, you’ll be in a position to launch that and check your app! Notice that this will additionally let you use the emulated smartphone even though it has been an actual device.
You can alternate the settings for your digital gadget – such as display size, Android version, space, etc. – via going to Tools > AVD Manager. You can additionally download new gadget photos here. Make certain that your digital system meets or exceeds the minimal SDK you set at the start. Alternatively, you can strive to plug a bodily system into your pc and use of this to check your new app. You’ll need to flip on Developer Options though and allow USB Debugging.
Step-5
In the final step as an Android developer you need to change the message that shows as easy as going into your XML and altering the line that says “Hello World!” into “Howdy World!”
This will provide the textual content label the identify “helloButton” and will state that the approach “on HelloButtonClick” will reference this view. Now you need to add the code. If you see any text show up crimson as you are typing it, the ability to “import” that code from the Android SDK, click on the crimson textual content and then press Alt + Enter, Android Studio will do this for you automatically. In this code example, we first create an “object” in the code referred to as “helloButton.” The “onCreate” approach (everything inside the curly brackets notifies Android. The code you right here is what will run first when you launch an app. Next, create the approach that runs when an individual clicks on the button. Once that happens, we can then alternate the textual content on the stated button. Notice that as soon as again, Kotlin requires notably fewer traces to obtain the equal thing and you need to now see that when you click on the button, the textual content changes. This is a very easy app, but it demonstrates the basics of how Android app development works.
This is the basic and general structure of Android development programming. One can follow and learn the structure if he or she wants to choose a career as an Android developer or become a python programmer.


SolForger Launches as a Non-Custodial Solana Developer Platform for Builders, Creators, and On-Chain Projects

Securing the Future: Jayen Consulting Officially Migrates to a New Digital Domain

Focusing on Compliance, Truoux Advances MAS License Application

Truoux Advances UK FCA License Application, Deepens Compliance Strategic Layout

Truoux Optimizes Risk Control and AML Systems, Accelerating the RMO and DAX License Application Process

Rovum Builds Momentum in On-Chain Settlement Markets

Why Small Shipping Boxes Are Becoming the Default for 25-unit Trial Runs

Radio Ads and Personal Spending: Where Prosecutors Allege the Dynamic Money Millions Went

The $34 Million Deception: Where the Guam Charity Bingo Money Really Went

Celeste White’s Influence on Sustainable Agricultural Practices in Napa Valley

Inside the 12-Count Federal Indictment Against Fugitive Darren Anthony Robinson

FBI Most Wanted: The Hunt for “Fake Heiress” Mary Carole McDonnell

Piet Mondrian x Doodles: Five of Modern Art’s Most Iconic Masterworks Reimagined as Digital Collectibles and Physical Art Prints — For the First Time Ever

CRYMADX Is Trying to Fix What’s Broken in Crypto — And It Might Actually Work

Legal Lines in a Shadowed Space: When People Falsify Death to Dodge Prosecution