Technology
What Are The Steps For Security Camera Installation?
Installing security cameras is an important step in ensuring the safety and security of your home or business. A well-placed security camera system can deter potential criminals, provide evidence in case of a break-in or theft, and give you peace of mind knowing that you can keep an eye on your property even when you’re not there. However, installing security cameras can be a daunting task, especially if you don’t have experience with electronics or wiring. In this blog post, we will outline the steps for security camera installation to help you understand the process and make the installation as smooth as possible.
Step 1: Determine the Camera Locations
The first step in security camera installation is to determine where you want to place your cameras. This will depend on the layout of your property, the areas that you want to monitor, and any potential blind spots that you want to cover. Consider placing cameras near entryways, windows, and other high-traffic areas. It’s also a good idea to place cameras in areas that are not easily visible to potential intruders, such as in corners or behind trees or bushes.
Step 2: Choose the Right Cameras
Once you have determined the camera locations, the next step is to choose the right cameras for your needs. There are many different types of security cameras available, including wired and wireless cameras, indoor and outdoor cameras, and cameras with different resolutions and features. Consider factors such as the lighting conditions, the distance between the camera and the object, and the desired image quality when choosing your cameras.
Step 3: Prepare the Tools and Equipment
Before you begin the installation process, it’s important to prepare the necessary tools and equipment. This may include a drill, screws, anchors, a ladder, and a power drill. Make sure you have all the tools and equipment you need before you begin the installation process.
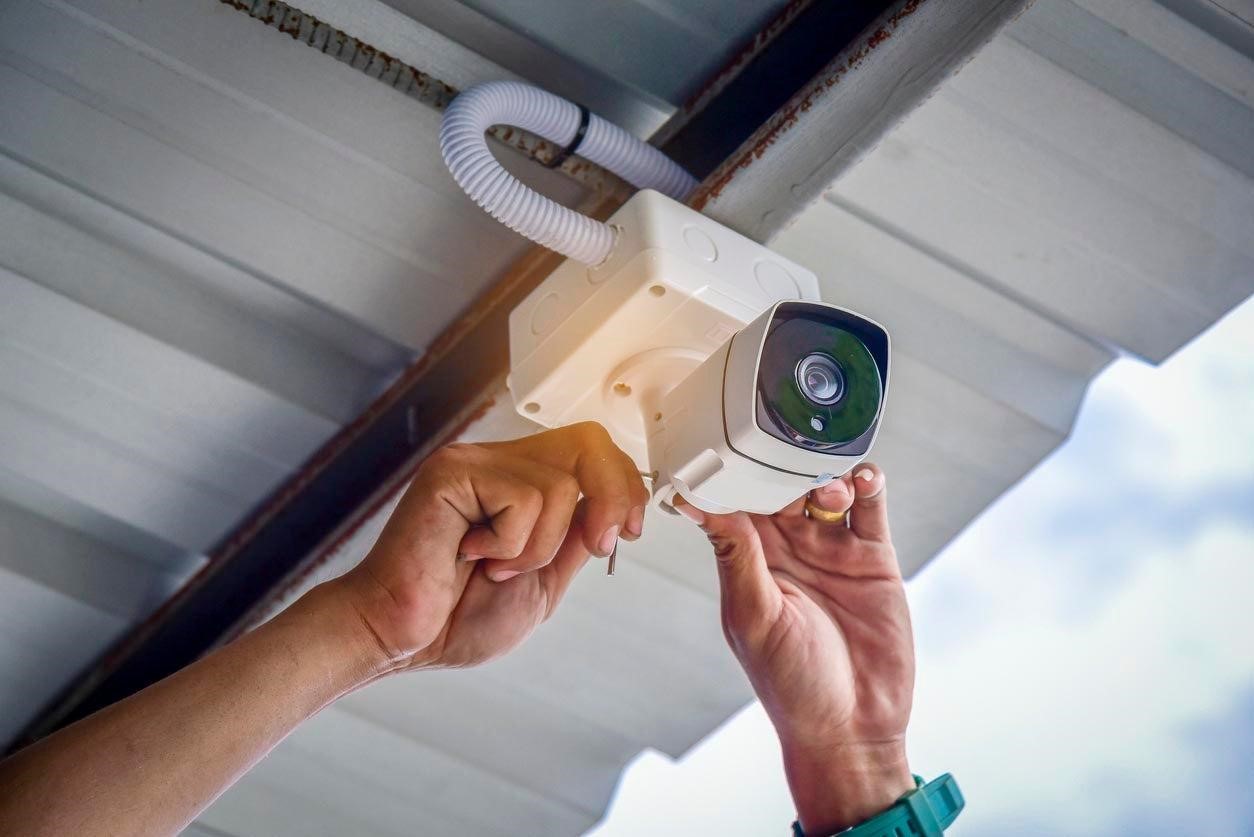
Step 4: Install the Cameras
Once you have chosen the cameras and prepared the necessary tools and equipment, it’s time to install the cameras. This involves mounting the cameras in the chosen locations, running cables or connecting wirelessly, and connecting the cameras to a power source. It’s important to follow the manufacturer’s instructions for installation and to make sure the cameras are securely mounted and positioned correctly.
Step 5: Test the Cameras
After you have installed the cameras, it’s important to test them to make sure they are working correctly. Check the video feed from each camera to make sure the images are clear and in focus. Test the motion detection and other features to make sure they are working correctly. Make any necessary adjustments to the camera positioning or settings to improve their performance.
Step 6: Monitor and Maintain the Cameras
Once the cameras are installed and tested, it’s important to monitor and maintain them to ensure they continue to work correctly. This may involve regularly checking the video feed, replacing batteries or cables, and cleaning the lenses to ensure clear images. It’s also important to keep the cameras up to date with the latest software updates and to replace any faulty or damaged cameras promptly.
In conclusion, security camera installation can be a complex process, but by following these steps and working with a professional installer like SoCal Access And Video, you can ensure that your cameras are installed correctly and provide the maximum level of security for your home or business. By choosing the right cameras, preparing the necessary tools and equipment, installing the cameras correctly, testing their performance, and monitoring and maintaining them regularly, you can enjoy the peace of mind that comes with knowing your property is safe and secure.


ETHRA AI Reports Strong Early Momentum as Stage 1 Presale Reaches 11% Completion

Understanding Comparative Negligence in Jacksonville Personal Injury Cases

LiquidWhales Goes Live: The First Hyperliquid Whale Tracker That Grades Every Wallet Net of Fees — and Lets You Copy the Winners in One Click

SolForger Launches as a Non-Custodial Solana Developer Platform for Builders, Creators, and On-Chain Projects

Securing the Future: Jayen Consulting Officially Migrates to a New Digital Domain

Focusing on Compliance, Truoux Advances MAS License Application

Truoux Advances UK FCA License Application, Deepens Compliance Strategic Layout

Truoux Optimizes Risk Control and AML Systems, Accelerating the RMO and DAX License Application Process

Rovum Builds Momentum in On-Chain Settlement Markets

Is Professional Mold Testing Worth It?

Why Small Shipping Boxes Are Becoming the Default for 25-unit Trial Runs

Radio Ads and Personal Spending: Where Prosecutors Allege the Dynamic Money Millions Went

The $34 Million Deception: Where the Guam Charity Bingo Money Really Went

Celeste White’s Influence on Sustainable Agricultural Practices in Napa Valley

Inside the 12-Count Federal Indictment Against Fugitive Darren Anthony Robinson

-
 Business4 days ago
Understanding Comparative Negligence in Jacksonville Personal Injury Cases
-
 Press Release7 days ago
LiquidWhales Goes Live: The First Hyperliquid Whale Tracker That Grades Every Wallet Net of Fees — and Lets You Copy the Winners in One Click
-
 Press Release3 days ago
ETHRA AI Reports Strong Early Momentum as Stage 1 Presale Reaches 11% Completion